
If your lawn looks a little rough coming out of winter—you’re not alone.
Between snow mold, salt damage, compacted soil, and months of inactivity, most Midwest lawns need some level of repair every spring. The problem is, a lot of homeowners jump in too early… or do the right things at the wrong time.
That’s where things go sideways.
This guide breaks down **exactly what to do—and when to do it—**so you can set your lawn up for a thick, healthy season without wasting time or money.
Step 1: Wait for the Right Soil Temperature (This Is Everything)
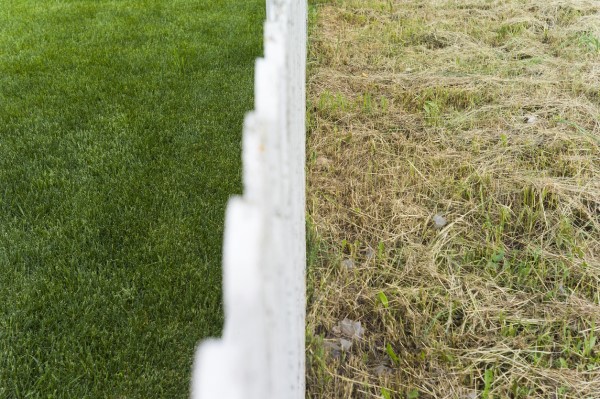
Before you touch your lawn, you need to know one thing: soil temperature matters more than air temperature.
- Cool-season grasses (like in Illinois):

![Soil Temperature is Important]()
→ Start at 50–55°F soil temps
> If you go too early:
> Seed won’t germinate
> Fertilizer gets wasted *
> You risk more damage than improvement
* The exception is your crabgrass preventer which can and should be applied well before the grass begins to green-up and grow. Usually as early as late February or early March. By April 1st, you’re really too late!
💡 Pro Tip: Search “soil temperature near me” or use a soil thermometer for accuracy.
Step 2: Clean Up & Assess the Damage
> Once temps are right, start with a simple cleanup: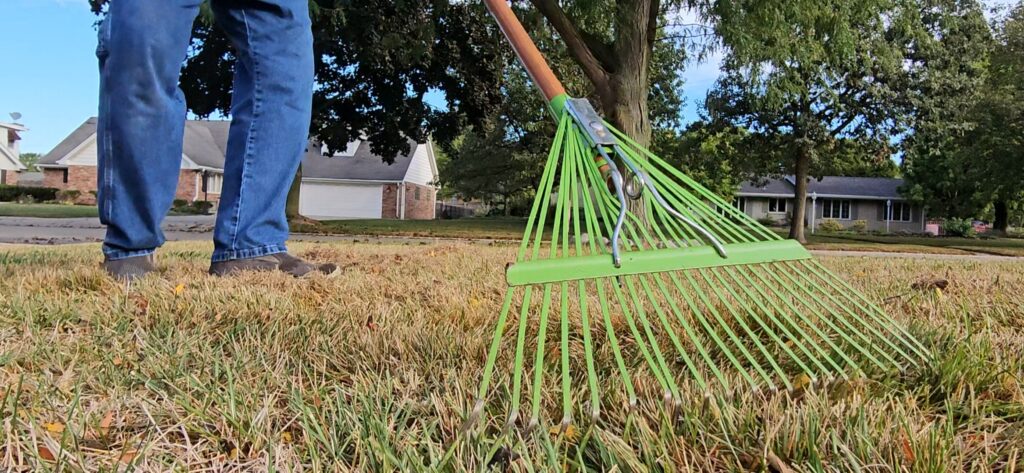
> Remove leaves, sticks, and debris
> Lightly rake matted grass areas
Identify:
> Bare spots
> Thin turf
> Compacted zones
This step isn’t glamorous—but it tells you exactly what your lawn actually needs.
Step 3: Fix Bare & Thin Areas (The Right Way)
This is where most lawns are won or lost.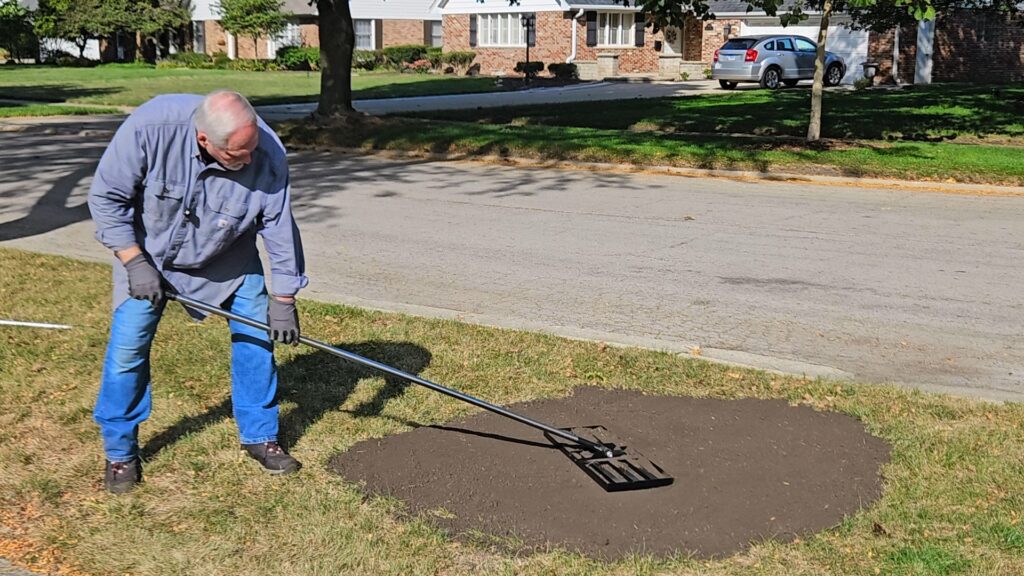
> For patchy or thin areas:
> Loosen the top layer of soil
> Apply quality grass seed
> Cover with a nutrient-rich soil mix or a thin layer of Peat
This is where a premium product like Tim Wallace Lawn Repair Mix really shines—giving seed the soil-to-seed contact and nutrients it needs to actually establish.
👉 Avoid the mistake of just throwing seed down and hoping for the best. It rarely works.
Step 4: Improve Your Soil with Topdressing
Even if your lawn isn’t bare, it can still be struggling underneath.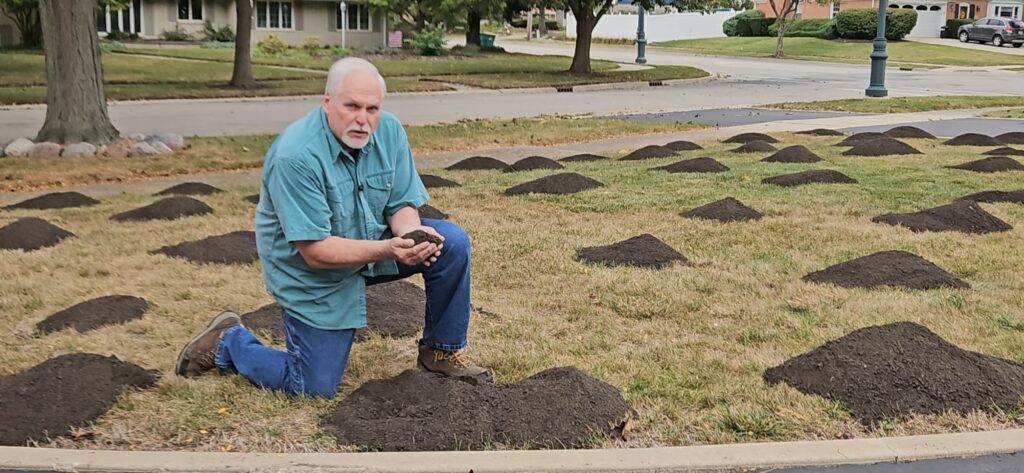
> Topdressing helps:
> Improve soil structure
> Add organic matter
> Level minor bumps
> Boost overall lawn health
Apply a thin layer (¼” or less) of a quality topdressing mix across the lawn.
👉 This is one of the most overlooked steps—and one of the biggest difference-makers.
Step 5: Fertilize (But Don’t Overdo It)
Spring fertilizing is important—but more is not better.
> Use a balanced, slow-release fertilizer
> Avoid heavy early applications (follow the label recommendations)
> Let your soil improvements do the heavy lifting
> Over-fertilizing in spring can lead to:
> Fast, weak growth
> More mowing
> Increased stress in summer
Step 6: Water the Right Way
New seed and improved soil need consistent moisture.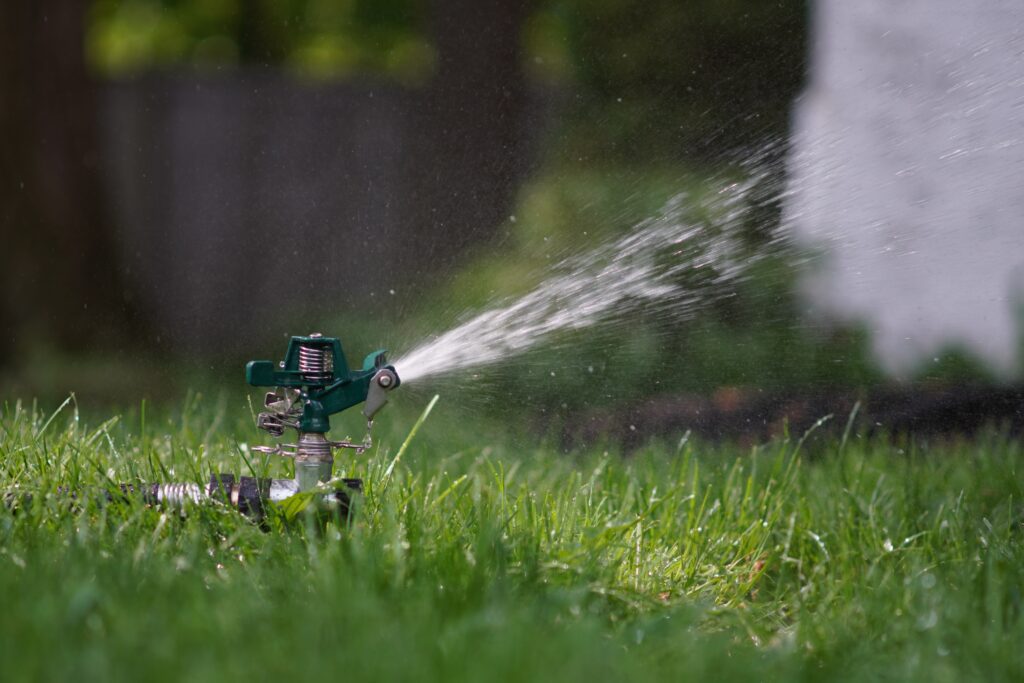
> Keep soil lightly damp (not soaked)
> Water once or twice daily for new seed
> Transition to deeper, less frequent watering as grass matures
Consistency here is key—this is where a lot of projects quietly fail.
Bonus: What NOT to Do in Spring
 Avoid these common mistakes:
❌ Seeding too early (cold soil = failure)
❌ Skipping soil prep
❌ Dumping fertilizer too soon
❌ Letting new seed dry out
❌ Ignoring thin areas until summer
Calculate How Much You Need
Not sure how much soil or mix to order?
👉 Use our Soil Calculator to get exact coverage:
Or give us a call—we’re happy to help you get it right the first time.
📞 630.759.1080
📍 Tim Wallace Soil Mix Supply – Bolingbrook, IL
Watch It in Action
For step-by-step lawn renovation videos, check out The Soil Channel on YouTube where we walk through real projects, real results, and exactly how to get there.
Final Thoughts
Spring lawn care doesn’t have to be complicated—but timing and technique make all the difference.
Focus on:
- Soil temperature
- Proper prep
- Quality materials
Do that, and your lawn won’t just “come back”—it’ll come back better than ever.